How to Host a Laravel Website Using cPanel Step-by-Step Guide
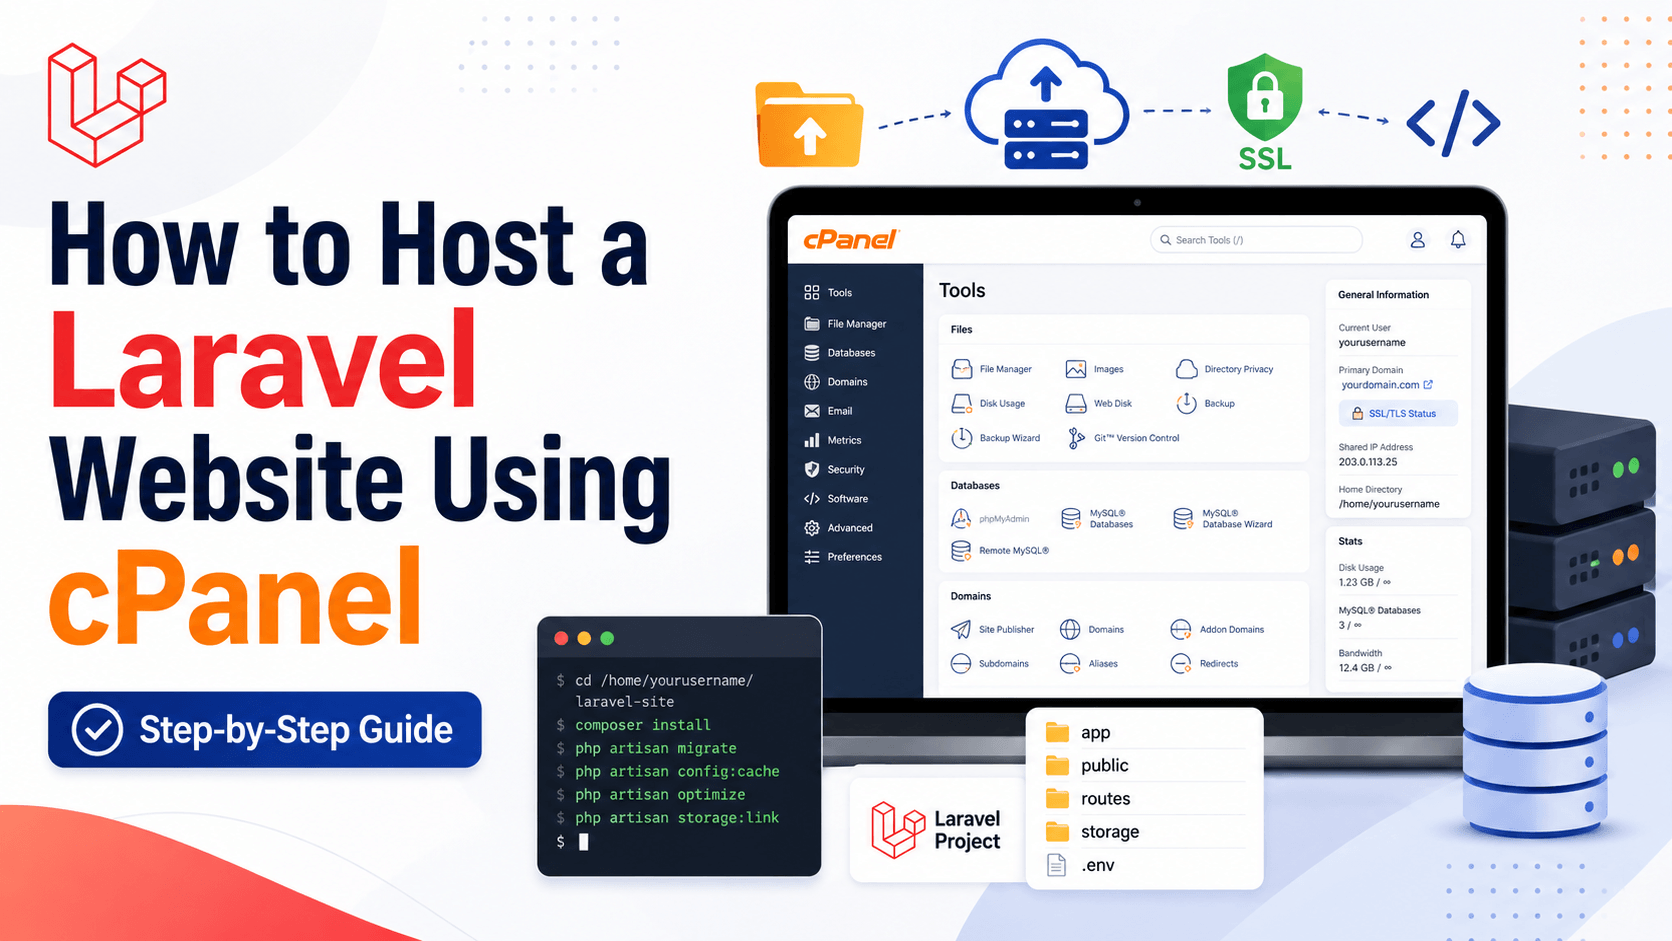
Hosting a Laravel website on cPanel can feel complicated the first time because Laravel uses a different folder structure from a basic PHP website. You cannot simply upload every project file into public_html and expect the application to work securely.
Laravel keeps its configuration, application code, dependencies, logs, and environment settings outside the public directory. Only the contents of LaravelÔÇÖs public folder should be accessible through the browser.
This guide explains how to deploy a Laravel website to cPanel safely, configure the database, install dependencies, enable HTTPS, and solve the most common deployment errors.
What You Need Before Starting
Before uploading your Laravel project, make sure you have:
A domain name connected to your hosting account
Access to cPanel
A hosting package that supports the PHP version required by your project
A MySQL or MariaDB database
cPanel Terminal or SSH access
Composer access
A completed and tested Laravel project
A backup of your website and database
The required PHP version depends on the Laravel version used by your application. For example, Laravel 13 requires PHP 8.3 or later, together with extensions such as Ctype, cURL, DOM, Fileinfo, Mbstring, OpenSSL, PDO, Session, Tokenizer, and XML. Always check your projectÔÇÖs composer.json file before choosing the serverÔÇÖs PHP version.
Step 1: Prepare the Laravel Project
Test the website on your local computer before uploading it.
Check important features such as:
User registration and login
Database operations
File uploads
Contact forms
Email delivery
Payment integrations
Admin dashboard functions
Scheduled tasks
Queue jobs
When the application works correctly, build the frontend files if your project uses Vite:
npm install
npm run build
The production-ready CSS and JavaScript files will normally be created inside:
public/build
Make sure this folder is included when uploading the project. Otherwise, you may receive a ÔÇ£Vite manifest not foundÔÇØ error after deployment.
You should not normally upload your local .env file because it may contain development database credentials and other private information. Create a separate production .env file on the server.
Step 2: Select the Correct PHP Version
Log in to cPanel and open MultiPHP Manager or Select PHP Version. The name of this option may vary depending on your hosting provider.
Select the domain and choose the PHP version required by your Laravel project.
Next, enable the necessary PHP extensions. Common Laravel applications may require:
ctype
curl
dom
fileinfo
filter
mbstring
openssl
pdo
pdo_mysql
session
tokenizer
xml
zip
Your project may require additional extensions for image processing, payment services, PDF generation, or other packages.
Do not use the latest available PHP version without checking compatibility. Your Laravel version and installed Composer packages must support it.
Step 3: Upload the Laravel Project
Open File Manager from cPanel.
For better security, create a new directory outside public_html. For example:
/home/cpanel_username/laravel_app
Upload your Laravel project ZIP file into this directory and extract it.
Your structure should look similar to this:
/home/cpanel_username/laravel_app
Ôö£ÔöÇÔöÇ app
Ôö£ÔöÇÔöÇ bootstrap
Ôö£ÔöÇÔöÇ config
Ôö£ÔöÇÔöÇ database
Ôö£ÔöÇÔöÇ public
Ôö£ÔöÇÔöÇ resources
Ôö£ÔöÇÔöÇ routes
Ôö£ÔöÇÔöÇ storage
Ôö£ÔöÇÔöÇ artisan
Ôö£ÔöÇÔöÇ composer.json
ÔööÔöÇÔöÇ package.json
Keeping the application outside the publicly accessible directory protects sensitive files such as .env, composer.json, application source code, and configuration files.
LaravelÔÇÖs official deployment guidance recommends directing web requests to public/index.php. It warns against serving the entire project directory because doing so can expose sensitive configuration files.
Step 4: Configure the Domain Document Root
The preferred method is to set the domainÔÇÖs document root to the Laravel projectÔÇÖs public directory:
/home/cpanel_username/laravel_app/public
In cPanel:
Open Domains.
Find your domain.
Click Manage.
Change the document root to the projectÔÇÖs
publicdirectory.Save the changes.
The cPanel Domains interface allows document-root management when the hosting provider has enabled that option. Some shared-hosting providers may restrict the locations that can be selected.
After changing the document root, visit your domain. Laravel should load from the correct public folder.
Alternative Method When the Document Root Cannot Be Changed
Some shared-hosting providers do not allow the main domain to use a document root outside public_html.
In that situation, keep the Laravel application in:
/home/cpanel_username/laravel_app
Then copy everything inside:
/home/cpanel_username/laravel_app/public
into:
/home/cpanel_username/public_html
Make sure you copy hidden files, including:
.htaccess
Next, edit:
public_html/index.php
Find the paths that load LaravelÔÇÖs files. Depending on your Laravel version, they may look similar to:
if (file_exists($maintenance = __DIR__.'/../storage/framework/maintenance.php')) {
    require $maintenance;
}

require __DIR__.'/../vendor/autoload.php';

$app = require_once __DIR__.'/../bootstrap/app.php';
Change them so they point to the Laravel application directory:
if (file_exists($maintenance = '/home/cpanel_username/laravel_app/storage/framework/maintenance.php')) {
    require $maintenance;
}

require '/home/cpanel_username/laravel_app/vendor/autoload.php';

$app = require_once '/home/cpanel_username/laravel_app/bootstrap/app.php';
Replace cpanel_username with your real cPanel username.
Older Laravel versions may contain only the vendor/autoload.php and bootstrap/app.php paths. Update the paths that exist in your own index.php file rather than replacing the entire file with code from another Laravel version.
Step 5: Install Composer Dependencies
Open cPanel Terminal or connect to the server using SSH.
Navigate to the Laravel project:
cd /home/cpanel_username/laravel_app
Install the production dependencies:
composer install --no-dev --optimize-autoloader
The --no-dev option prevents development-only packages from being installed, while --optimize-autoloader creates a faster production autoloader.
Use composer install during deploymentÔÇönot composer update. The install command uses the exact dependency versions recorded in composer.lock, helping production remain consistent with the tested project.
Current cPanel documentation states that Composer usage requires SSH access. It also notes that newer cPanel versions may not include the older bundled Composer package, so Composer availability can depend on the hosting provider.
When the composer command is unavailable, ask the hosting provider to enable Composer or provide the correct Composer command for the account.
Step 6: Create the Production Database
Return to cPanel and open Database Wizard, Manage My Databases, or MySQL Databases.
Create:
A new database
A database user
A strong database password
A connection between the user and database
All required privileges for that user
cPanel often adds the account username as a prefix. For example:
Database: cpaneluser_laravel
User: cpaneluser_admin
Use the complete names displayed in cPanel when configuring Laravel.
For an existing website, open phpMyAdmin, select the new database, and import the SQL backup.
For a new project that uses Laravel migrations, you can create the tables later by running:
php artisan migrate --force
The --force option allows migrations to run in the production environment.
Step 7: Create and Configure the .env File
Inside the Laravel project directory, copy .env.example and rename the copy to:
.env
Open the file and update the production settings:
APP_NAME="My Website"
APP_ENV=production
APP_KEY=
APP_DEBUG=false
APP_URL=https://example.com

LOG_CHANNEL=stack
LOG_LEVEL=error

DB_CONNECTION=mysql
DB_HOST=localhost
DB_PORT=3306
DB_DATABASE=cpaneluser_laravel
DB_USERNAME=cpaneluser_admin
DB_PASSWORD=your_secure_password
Replace the example values with your actual domain and database details.
Always use:
APP_DEBUG=false
in production. Leaving debug mode enabled can expose sensitive configuration values and technical information to visitors.
Generate the Application Key
For a completely new application with an empty APP_KEY, run:
php artisan key:generate
However, when moving an existing Laravel website from another server, preserve its original APP_KEY.
Generating a different key for an existing application can invalidate encrypted cookies, sessions, stored tokens, and other encrypted data.
Step 8: Set the Correct Directory Permissions
Laravel must be able to write to:
storage
bootstrap/cache
LaravelÔÇÖs deployment documentation specifically identifies these two directories as requiring write access for the web-server process.
From the Terminal, you can use:
chmod -R ug+rwX storage bootstrap/cache
Permission requirements differ between hosting environments. On many shared-hosting accounts, directories use 755, while some setups may require 775.
Avoid setting the entire Laravel project to 777. Only the required directories should receive write permissions, using the permission level recommended by your hosting provider.
Step 9: Create the Storage Link
When your application displays uploaded images or files from the public storage disk, run:
php artisan storage:link
This creates a link between:
storage/app/public
and:
public/storage
Laravel uses this symbolic link to make public uploads accessible through the website.
When using the alternative public_html deployment method, confirm that the link appears in the public document root. Some shared-hosting providers disable symbolic links, in which case you may need assistance from the hosting company or a different file-storage configuration.
Step 10: Run Migrations and Optimize Laravel
Once the database and .env file are ready, clear old cached settings:
php artisan optimize:clear
Run pending database migrations:
php artisan migrate --force
Then optimize the application:
php artisan optimize
LaravelÔÇÖs optimize command caches configuration, events, routes, and views to improve production performance.
Whenever you change the .env file, clear and rebuild the cache:
php artisan optimize:clear
php artisan optimize
After configuration caching, Laravel does not load .env values directly during each request. Environment values should therefore be accessed through Laravel configuration files rather than calling env() throughout application code.
Step 11: Enable SSL and HTTPS
Most cPanel hosting accounts provide free SSL through AutoSSL.
After the SSL certificate has been installed:
Open Domains in cPanel.
Find your domain.
Enable Force HTTPS Redirect.
Confirm that
APP_URLbegins withhttps://.
Example:
APP_URL=https://example.com
cPanelÔÇÖs Force HTTPS Redirect option automatically sends visitors from the unsecured HTTP address to the secured HTTPS version when a valid SSL certificate is available.
Test both versions:
http://example.com
https://example.com
The HTTP address should automatically redirect to HTTPS.
Step 12: Configure Laravel Scheduled Tasks
Laravel applications may use scheduled commands for tasks such as:
Sending reminders
Removing expired records
Generating reports
Processing subscriptions
Creating backups
Sending scheduled emails
Open Cron Jobs in cPanel and add a job that runs every minute:
* * * * * cd /home/cpanel_username/laravel_app && php artisan schedule:run >> /dev/null 2>&1
Some servers require the complete PHP executable path:
* * * * * cd /home/cpanel_username/laravel_app && /usr/local/bin/php artisan schedule:run >> /dev/null 2>&1
Ask your hosting provider for the correct PHP path when necessary.
Laravel requires only one server cron entry. The schedule:run command checks the applicationÔÇÖs schedule every minute and runs tasks that are due.
Step 13: Configure Queue Workers
Some Laravel applications use queues for email delivery, notifications, file processing, imports, and other background jobs.
A normal production queue worker may be started with:
php artisan queue:work
However, this process must remain running. Laravel recommends using a process monitor such as Supervisor to restart queue workers automatically when they stop.
Many shared-hosting packages do not provide Supervisor access. In that case, ask the hosting provider whether persistent processes are supported.
Applications that depend heavily on queues, Redis, Laravel Reverb, Octane, or long-running background services may be better suited to a VPS or managed Laravel hosting platform.
Step 14: Test the Live Website
After deployment, check the website carefully.
Test:
The homepage
Internal pages
Login and registration
Admin dashboard
Database inserts and updates
Image and document uploads
Contact forms
Email delivery
Password reset
Scheduled tasks
Queue jobs
Mobile responsiveness
HTTPS redirection
Also check LaravelÔÇÖs log file:
storage/logs/laravel.log
This file normally provides useful details when the website returns an error.
Common Laravel cPanel Errors
500 Internal Server Error
Possible causes include:
Incorrect
.envsettingsMissing
APP_KEYUnsupported PHP version
Missing PHP extensions
Incorrect file permissions
Missing Composer dependencies
Invalid cached configuration
Try:
php artisan optimize:clear
Then check:
storage/logs/laravel.log
404 Error on Every Page Except the Homepage
This usually happens when:
The
.htaccessfile was not copiedApache rewrite rules are unavailable
The document root is incorrect
LaravelÔÇÖs public directory was not configured properly
Confirm that the .htaccess file from LaravelÔÇÖs public folder exists in the active document root.
Vite Manifest Not Found
Run the frontend build locally:
npm install
npm run build
Then upload:
public/build
to the server.
SQLSTATE Access Denied Error
Check:
The complete cPanel database name
The complete cPanel database username
The database password
Whether the user was assigned to the database
Whether the user received the required privileges
Uploaded Images Are Not Showing
Run:
php artisan storage:link
Also confirm that the storage directories are writable and that the APP_URL value is correct.
Composer Platform Requirement Error
This means the serverÔÇÖs PHP version or extensions do not satisfy the projectÔÇÖs requirements.
Check:
php -v
php -m
composer check-platform-reqs
Then enable the required PHP version or extensions from cPanel.
Laravel cPanel Deployment Checklist
Before considering the deployment complete, confirm that:
The correct PHP version is selected
Required PHP extensions are enabled
Only LaravelÔÇÖs public files are web-accessible
Composer dependencies are installed
The production
.envfile is configuredAPP_DEBUGis set tofalseThe original application key is preserved when migrating
The database user has the correct privileges
Migrations have been completed
Storage and cache directories are writable
The storage link has been created
Laravel caches have been optimized
SSL and HTTPS redirection are enabled
Cron jobs are configured
Queue workers are running when required
Website forms, uploads, emails, and authentication have been tested
A recent backup is available
Conclusion
Hosting a Laravel website through cPanel is straightforward once the folder structure is configured correctly.
The most important rule is to expose only LaravelÔÇÖs public directory to website visitors. Keep the application code, .env file, storage directories, Composer dependencies, and configuration files outside the public document root whenever the hosting account allows it.
After uploading the project, configure the production environment, connect the database, install Composer packages, set directory permissions, run migrations, create the storage link, enable HTTPS, and optimize Laravel.
Once these steps are completed, your Laravel application should be secure, fast, and ready for real users.