
How to Change DNS for a Domain: A Step-by-Step Guide
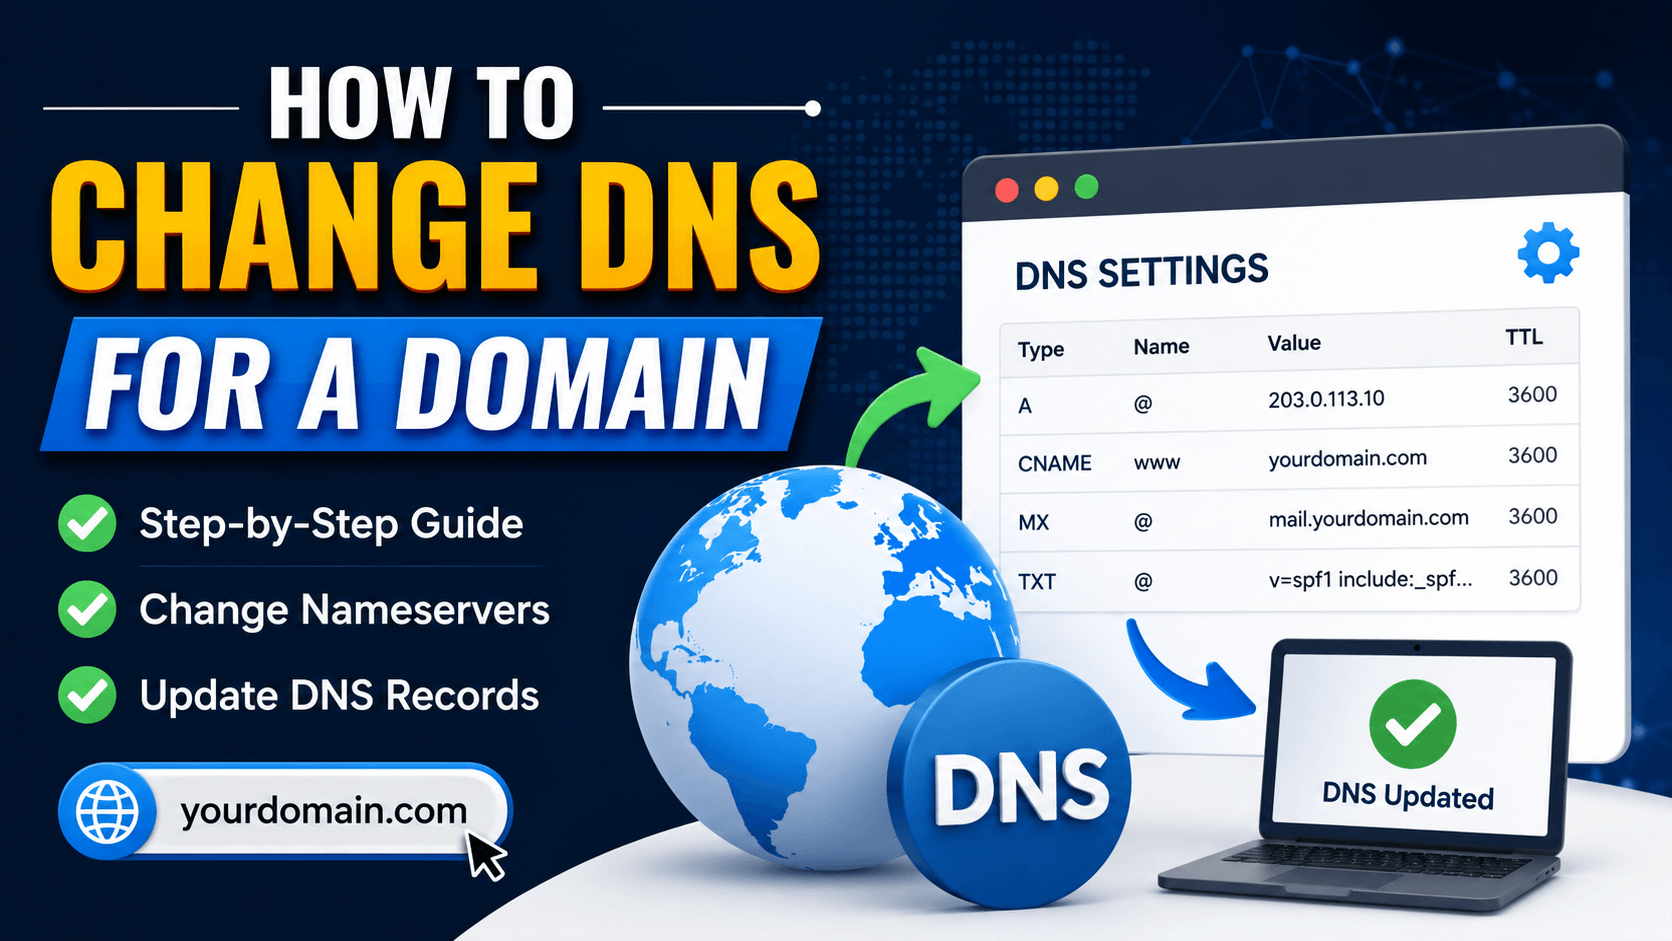
Changing a domainÔÇÖs DNS settings is a common task when launching a new website, moving to another hosting provider, connecting email services, or using a platform such as Cloudflare.
The process is usually straightforward, but one incorrect DNS record can make your website or email temporarily unavailable. Before changing anything, it is important to understand where your DNS is managed, which records need to be updated, and how to preserve your existing services.
This guide explains how to change domain nameservers and individual DNS records safely.
What Is DNS?
DNS stands for Domain Name System. It connects a human-readable domain name, such as example.com, to the IP address of the server where the website or another online service is hosted.
Without DNS, visitors would need to enter a numerical server address instead of a domain name. DNS therefore works much like an address directory for the internet.
A domainÔÇÖs DNS zone may contain several types of records, including:
- A records for connecting a domain to an IPv4 address
- AAAA records for connecting a domain to an IPv6 address
- CNAME records for pointing one hostname to another hostname
- MX records for directing incoming email
- TXT records for verification and email authentication
- NS records for identifying the domainÔÇÖs authoritative nameservers
- CAA records for controlling which certificate authorities may issue SSL certificates
You do not always need to replace the domainÔÇÖs nameservers. In many cases, changing one A, CNAME, MX, or TXT record is enough.
Nameservers and DNS Records Are Not the Same
This is one of the most important points to understand.
Nameservers
Nameservers identify the DNS provider that controls the domainÔÇÖs complete DNS zone.
Examples may look like:
ns1.hostingcompany.com
ns2.hostingcompany.com
or:
alice.ns.cloudflare.com
bob.ns.cloudflare.com
Nameserver changes are normally completed through the company where the domain is registered. Cloudflare, for example, instructs domain owners to update nameservers at their registrar rather than inside the hosting account.
DNS Records
DNS records are the individual instructions stored inside the active DNS zone.
An A record may point the main domain to a web server:
Type: A
Name: @
Value: 203.0.113.10
A CNAME record may point the www version to the main domain:
Type: CNAME
Name: www
Value: example.com
Changing one record affects only the related service. Changing nameservers transfers control of the entire DNS zone to another DNS provider.
When Should You Change DNS?
You may need to change DNS when:
- Moving a website to a new server
- Connecting a domain to a hosting account
- Using Cloudflare
- Setting up Google Workspace or Microsoft 365
- Connecting a subdomain to another service
- Verifying domain ownership
- Configuring an email service
- Installing an external website builder
- Moving DNS management to another provider
- Connecting an API, application, or content delivery network
Your hosting provider or service platform should give you the exact records or nameservers required.
Do not guess the IP addresses, mail servers, or verification values. Copy them from the official instructions provided for your account.
Before Changing the DNS
A few minutes of preparation can prevent hours of troubleshooting.
Save the Existing DNS Records
Take screenshots or export a copy of the current DNS zone.
Make sure you save all existing:
- A and AAAA records
- CNAME records
- MX records
- TXT records
- SPF information
- DKIM records
- DMARC records
- Subdomain records
- Verification records
This is especially important when changing nameservers because the new DNS provider will not necessarily recreate every record automatically.
Confirm Where DNS Is Currently Managed
The domain registrar, web host, and DNS provider may be three different companies.
For example:
Domain registrar: Namecheap
Web hosting: cPanel server
DNS provider: Cloudflare
In this situation, you would change nameservers through Namecheap but manage individual DNS records through Cloudflare.
ICANN explains that domain owners manage registration-related settings through their registrar.
Collect the New DNS Information
Ask the new hosting provider for one of the following:
New nameserversor:
Server IP address and required DNS recordsFor a typical website migration, you may receive:
Server IP: 203.0.113.10For a nameserver migration, you may receive:
ns1.newhost.com
ns2.newhost.com
Check Your Email Configuration
Your website and email may use different providers.
Changing nameservers without copying the MX and email-authentication records can stop email delivery even when the website works correctly.
Before changing nameservers, copy all MX, SPF, DKIM, and DMARC records into the new DNS provider.
Method 1: Change the Domain Nameservers
Use this method when you want another provider to manage the entire DNS zone.
Step 1: Sign In to Your Domain Registrar
Sign in to the company where the domain was purchased.
This may be:
- GoDaddy
- Namecheap
- Hostinger
- Google Domains or Squarespace Domains
- Porkbun
- Cloudflare Registrar
- Another local or international registrar
Look for a menu named:
- Domain Management
- Manage Domain
- Nameservers
- DNS
- Custom DNS
- Name Server Settings
The exact wording depends on the registrar.
Step 2: Select Custom Nameservers
The domain may currently use options such as:
Default nameservers
Hosting nameservers
Registrar nameservers
Select the option to use custom nameservers.
Step 3: Enter the New Nameservers
Replace the existing values with the nameservers supplied by the new provider.
Example:
ns1.newhostingcompany.com
ns2.newhostingcompany.com
Some providers give more than two nameservers. Add every nameserver they provide.
Do not add:
https://Do not enter a folder, IP address, or website URL in a nameserver field.
Step 4: Save the Changes
Click Save, Update, or Change Nameservers.
The registrar may send an email asking you to confirm the change. Complete the confirmation when required.
Step 5: Wait for DNS Propagation
Nameserver changes do not always appear everywhere immediately. Cloudflare advises that nameserver changes can take anywhere from a few minutes to approximately 48 hours to propagate globally, although they are often completed sooner.
During this period:
- Some visitors may see the old website
- Some visitors may see the new website
- Email may still use cached DNS information
- Different internet providers may show different results
Avoid repeatedly changing the nameservers while propagation is still taking place.
Method 2: Change an A Record
Use an A record when you want the domain to load a website from a specific IPv4 address while keeping the current DNS provider.
Step 1: Open the Active DNS Manager
Sign in to the service that manages your DNS.
Open the DNS zone for the domain.
Step 2: Find the Main A Record
The root domain is commonly represented by:
@or by the full domain:
example.comA typical record may look like:
Type: A
Name: @
Value: 192.0.2.25
TTL: Auto
Step 3: Replace the Old IP Address
Change the value to the new server IP:
Type: A
Name: @
Value: 203.0.113.10
TTL: Auto
Save the record.
Step 4: Check the www Record
The www version may use either an A record or a CNAME.
A common configuration is:
Type: CNAME
Name: www
Value: example.com
This makes:
www.example.comfollow the root domain.
If www has a separate A record, update it to the new server IP as well.
Method 3: Change DNS Through cPanel
Use this method only when the domainÔÇÖs active nameservers point to the cPanel server or its DNS service.
cPanel provides a Zone Editor that allows users to create, edit, and delete DNS records.
Step 1: Open cPanel
Sign in to your cPanel account.
Step 2: Open Zone Editor
Go to:
cPanel  Domains  Zone EditorcPanels official documentation identifies Zone Editor as the interface used to update domain DNS records.
Step 3: Select the Domain
Find the required domain and click Manage.
You will see its available DNS records.
Step 4: Edit or Add a Record
To update the website IP:
- Find the A record for the domain.
- Click Edit.
- Enter the new server IP.
- Save the record.
To add a new record:
- Click Add Record.
- Select the record type.
- Enter the name and value.
- Select a TTL or keep the default.
- Save the record.
Important cPanel Limitation
Changing a record inside cPanel will have no public effect when the domain uses Cloudflare or another external DNS provider.
Always check which nameservers are active before editing a DNS zone.
Method 4: Change DNS Through Cloudflare
When the domain uses Cloudflare nameservers, individual records must normally be managed through the Cloudflare dashboard.
Step 1: Sign In to Cloudflare
Open your Cloudflare account and select the domain.
Step 2: Open DNS Records
Go to:
DNS  RecordsStep 3: Add or Edit the Record
For the main website:
Type: A
Name: @
IPv4 address: 203.0.113.10
For www:
Type: CNAME
Name: www
Target: example.com
Step 4: Select the Proxy Status
Cloudflare provides two main statuses:
- Proxied, shown with an orange cloud
- DNS only, shown with a grey cloud
When a record is proxied, supported web traffic passes through Cloudflare. When it is set to DNS only, visitors connect directly to the origin server.
Web records such as the main domain and www are commonly proxied. Records for email and some verification or application services may need to remain DNS only.
Follow the instructions from the related service rather than enabling the proxy for every record.
How to Change Email DNS Records
Connecting an email provider usually requires several DNS records.
MX Records
MX records specify where incoming email should be delivered.
Example:
Type: MX
Name: @
Mail server: mail.example-provider.com
Priority: 10
Lower priority numbers are generally preferred before higher numbers.
Use the exact server names and priorities supplied by your email provider.
SPF Record
SPF is usually added as a TXT record:
Type: TXT
Name: @
Value: v=spf1 include:example-provider.com ~all
A domain should not normally have multiple independent SPF records. When several services send email for the domain, their authorization rules usually need to be combined into one valid SPF policy.
DKIM Record
DKIM may be provided as a TXT or CNAME record.
Example:
Type: TXT
Name: selector1._domainkey
Value: Provided by the email service
DMARC Record
A basic DMARC record may look like:
Type: TXT
Name: _dmarc
Value: v=DMARC1; p=none;
Email-security policies should be configured carefully. Use the exact instructions supplied by your email platform.
Understanding TTL and DNS Propagation
TTL means Time to Live. It tells DNS resolvers how long they may cache a record before checking for an updated value.
A TTL might be displayed as:
300 seconds
3600 seconds
14400 seconds
Auto
A lower TTL can help updated records become visible sooner after cached copies expire. However, lowering the TTL immediately before making a change does not remove records that are already cached under the previous TTL.
For a planned migration, reduce the TTL in advance, wait for the old TTL period to pass, and then update the record.
DNS propagation may appear uneven because different resolvers refresh their caches at different times.
How to Check Whether DNS Has Updated
You can check DNS from a computer terminal.
Check an A Record
On Windows:
nslookup example.comOn Linux or macOS:
dig example.com ACheck Nameservers
nslookup -type=ns example.comor:
dig example.com NSCheck MX Records
nslookup -type=mx example.comor:
dig example.com MXCheck TXT Records
nslookup -type=txt example.comor:
dig example.com TXTYou can also test through several public DNS resolvers because your local internet provider may still have an older cached value.
Common DNS Problems
The Website Still Loads From the Old Server
Possible reasons include:
- DNS propagation is incomplete
- Your device has cached the old result
- Your router or internet provider has cached the record
- The wrong DNS provider was edited
- The
wwwrecord was not updated - A CDN or proxy is showing cached content
Try clearing the local DNS cache and checking the domain through another network.
On Windows:
ipconfig /flushdnsThe Website Stopped Working After Changing Nameservers
The new DNS provider may not contain the required website records.
Confirm that the new zone has:
A record for @
A or CNAME record for www
Also verify that the server is configured to accept the domain.
Email Stopped Working
This often happens when MX or TXT records were not copied before changing nameservers.
Restore the email providerÔÇÖs:
- MX records
- SPF record
- DKIM record
- DMARC record
- Autodiscover or verification records
cPanel Changes Are Not Working
The domain may be using external nameservers.
Check the active NS records. When they belong to Cloudflare or another DNS provider, make the changes there instead of in cPanel.
Cloudflare Shows an Origin Error
The DNS record may point to the wrong server IP, or the origin server may not accept Cloudflare connections.
Check:
- The A record value
- Apache or Nginx virtual-host configuration
- Server firewall rules
- SSL settings
- Whether the website works with the proxy temporarily set to DNS only
The Domain Works Without www but Not With It
Add or correct the www record:
Type: CNAME
Name: www
Target: example.com
Also add the www hostname to the hosting account and SSL certificate when required.
DNS Safety Checklist
Before saving a DNS change, confirm that:
- You are editing the active DNS provider
- You have backed up the existing records
- The new IP address or hostname is correct
- The main domain and
wwware configured - Email MX records are preserved
- SPF, DKIM, and DMARC records are preserved
- Important subdomains are copied
- The destination server is ready
- SSL is installed or ready to be issued
- You understand whether you are changing one record or all nameservers
- You have allowed enough time for propagation
Conclusion
Changing DNS for a domain is safe when you understand the difference between nameservers and individual DNS records.
Change the nameservers when you want to move the complete DNS zone to another provider. Change an A, CNAME, MX, or TXT record when you only need to connect a particular website, subdomain, email system, or verification service.
Always back up the existing DNS zone, preserve email records, confirm where the active DNS is managed, and copy values exactly from the new provider.
After saving the changes, allow time for cached DNS information to expire and test the domain, www address, email service, subdomains, and SSL certificate. Careful preparation will help you move the domain without unnecessary website or email downtime.